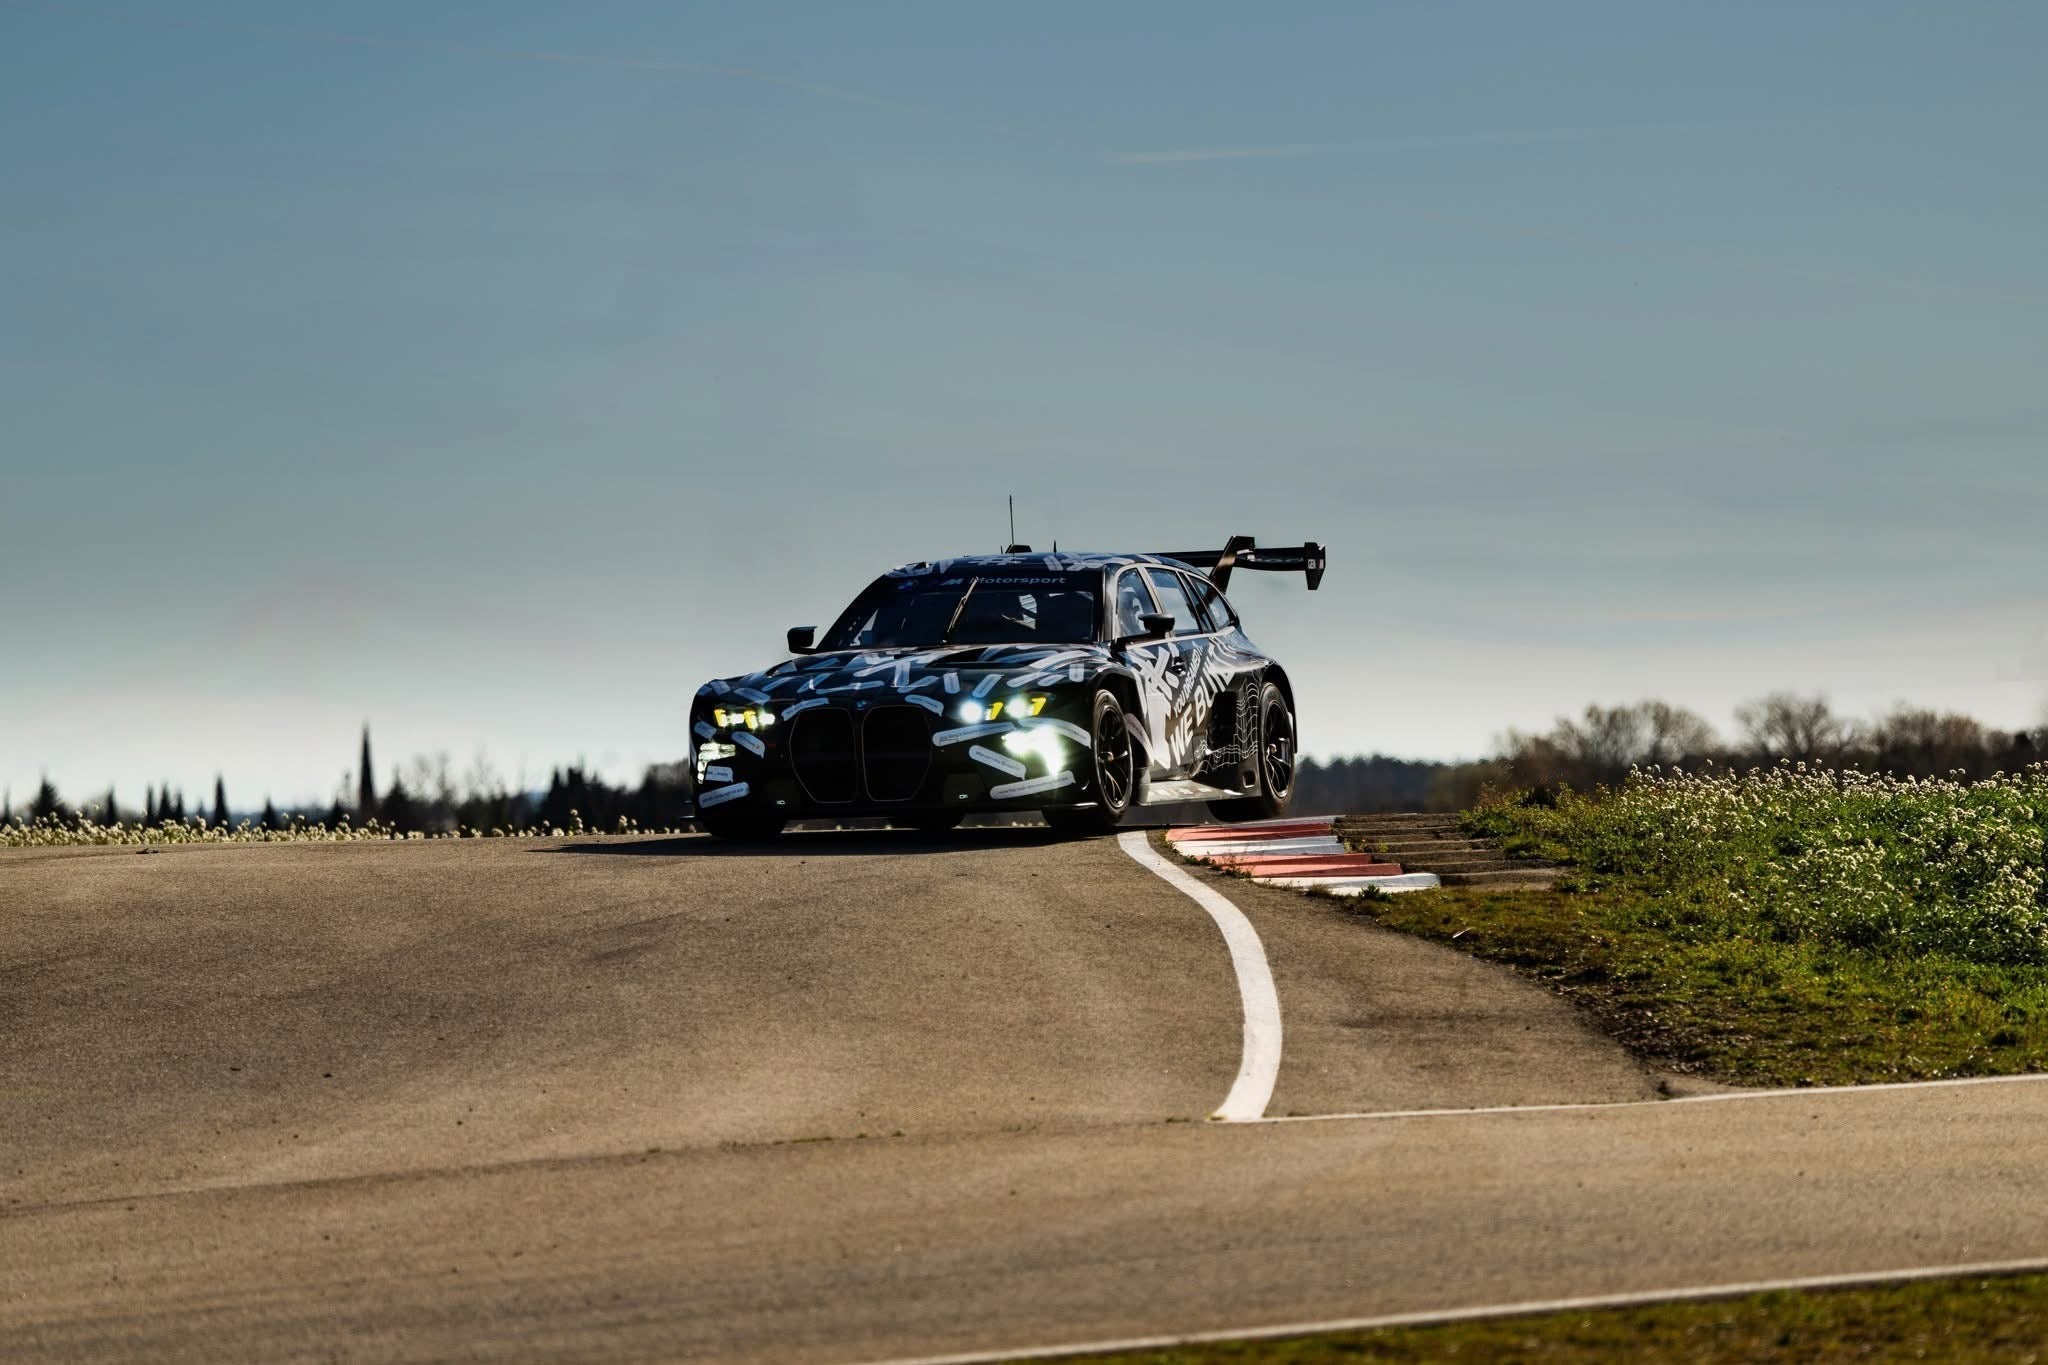


Upgrade the front end of your BMW F8X with the Ridgline GTS front lip and splitter kit. This guide covers the fitting process for the upper lip, lower splitter, side brackets, and final hardware installation, based on the included installation manual. The process requires bumper removal, trimming of the OEM plastic undertray area, drilling, and final alignment of both lip sections.
The splitter can be found HERE
Vehicle fitment
BMW F87 M2 Competition
Before you start
We recommend test fitting all components before drilling or permanently securing anything. The lip and splitter should be aligned carefully to ensure even fitment across the bumper and best visual finish. Because drilling and trimming are required, professional installation is recommended if you are not confident carrying out body or trim work. The original guide begins with removal of the front bumper and OEM air ducts before any brackets or lip sections are installed.
Tools and equipment recommended
- Socket set
- Trim removal tools
- Drill
- 6mm drill bit
- 25mm hole saw
- Self-tapping screws
- Rivnut tool
- M6 bolt and nut hardware
- Marker pen
- Masking tape
- Measuring tape
- Safety glasses
Installation steps
Step 1: Remove the front bumper and OEM air ducts
Remove the front bumper from the vehicle along with the OEM air ducts. This gives clear access to the lower front area where the Ridgline mounting brackets and splitter assembly will be positioned. The guide shows the bumper fully removed before bracket installation begins.

Step 2: Loosely install the stainless side brackets
Fit both stainless steel side brackets in position, but do not fully tighten them yet. The supplied guide notes that the OEM plastic skid plate or undertray area will need to be trimmed to allow proper clearance for the brackets and splitter hardware. Keep the brackets loose at this stage so you can fine tune alignment later.

Step 3: Install and centre the lower splitter
Mount the lower splitter onto the brackets and align it as centrally as possible. Once you are satisfied with its position, tighten the two stainless steel brackets. This stage is important because the splitter position will act as the reference point for the upper lip and the rest of the fastening points.

Step 4: Use the brackets as an alignment guide for the upper lip
With the lower splitter in place, use the two stainless brackets as guides to help centre the upper lip. Check the lip’s position from both the front and sides of the bumper to make sure the overhang and spacing are even. The original guide specifically states to use the brackets to centre the lip as accurately as possible.

Step 5: Mark and drill pilot locations using the welded nuts
Once the upper lip is aligned, use the two welded nuts as guides and drill in two self-tapping screws. This creates the first set of fixing points and marks the exact bracket locations through the lip. Take care to keep everything square while doing this so the lip does not shift out of alignment.

Step 6: Drill 6mm holes and create the access openings
Using the positions marked by the two self-tappers, drill two 6mm through holes. Then use a 25mm hole saw to create an access opening on the upper side of the lip so you can reach the stainless bracket hardware. The supplied manual shows this larger access hole being created specifically to reach the bracket fixing point.

Step 7: Align the lower splitter to the upper lip and drill the mounting holes
Use the newly drilled 6mm hole to align the lower splitter to the upper lip in the best possible position. Then use the slots in the lower splitter as guides to drill four holes at the top of the selected slots. The guide states that only the 1st, 3rd, 4th and 6th slots need to be drilled. Ensure both sides are even before committing to the holes.

Step 8: Install the rivnuts
Fit four rivnuts into the holes drilled in the previous step. These will provide the threaded mounting points used to secure the lower splitter to the upper lip. Make sure each rivnut is fully seated and properly compressed so it does not spin during final assembly.

Step 9: Secure the upper lip to the bumper
Install the upper lip onto the bumper. The guide recommends using a bolt and nut method for the best and most secure installation. Before fully tightening, check the lip’s alignment across the bumper line and make sure both corners sit consistently.

Step 10: Refit the OEM air ducts and reinstall the bumper
Once the upper lip is secured, reinstall the OEM air ducts and refit the front bumper to the vehicle. At this stage, check the bumper fitment around the wings, grille area, and lower edges before moving onto the final underside hardware.
Step 11: Secure the upper lip to the bracket with an M6 bolt
Using the 25mm access opening created earlier, install an M6 bolt to secure the upper lip to the mounting bracket. This ties the lip into the bracket structure and adds strength to the centre mounting area. Make sure the fixing is tight but do not overtighten against carbon fibre or composite material.

Step 12: Bolt the lower splitter to the upper lip
Finally, secure the lower splitter to the upper lip using the previously installed rivnuts. The original guide notes that the 2nd and 4th slot positions must be secured to the stainless steel bracket. Once all hardware is in place, carry out a final alignment check from the front, sides, and underside of the vehicle.

Final checks
After installation, inspect the following before driving:
- Make sure all bolts, self-tappers, and rivnuts are fully secure
- Confirm the lip and splitter are centred and sitting evenly
- Check clearance around the undertray, ducts, and bumper edges
- Ensure nothing fouls the road, ramps, or transport straps
- Recheck all hardware after the first drive