
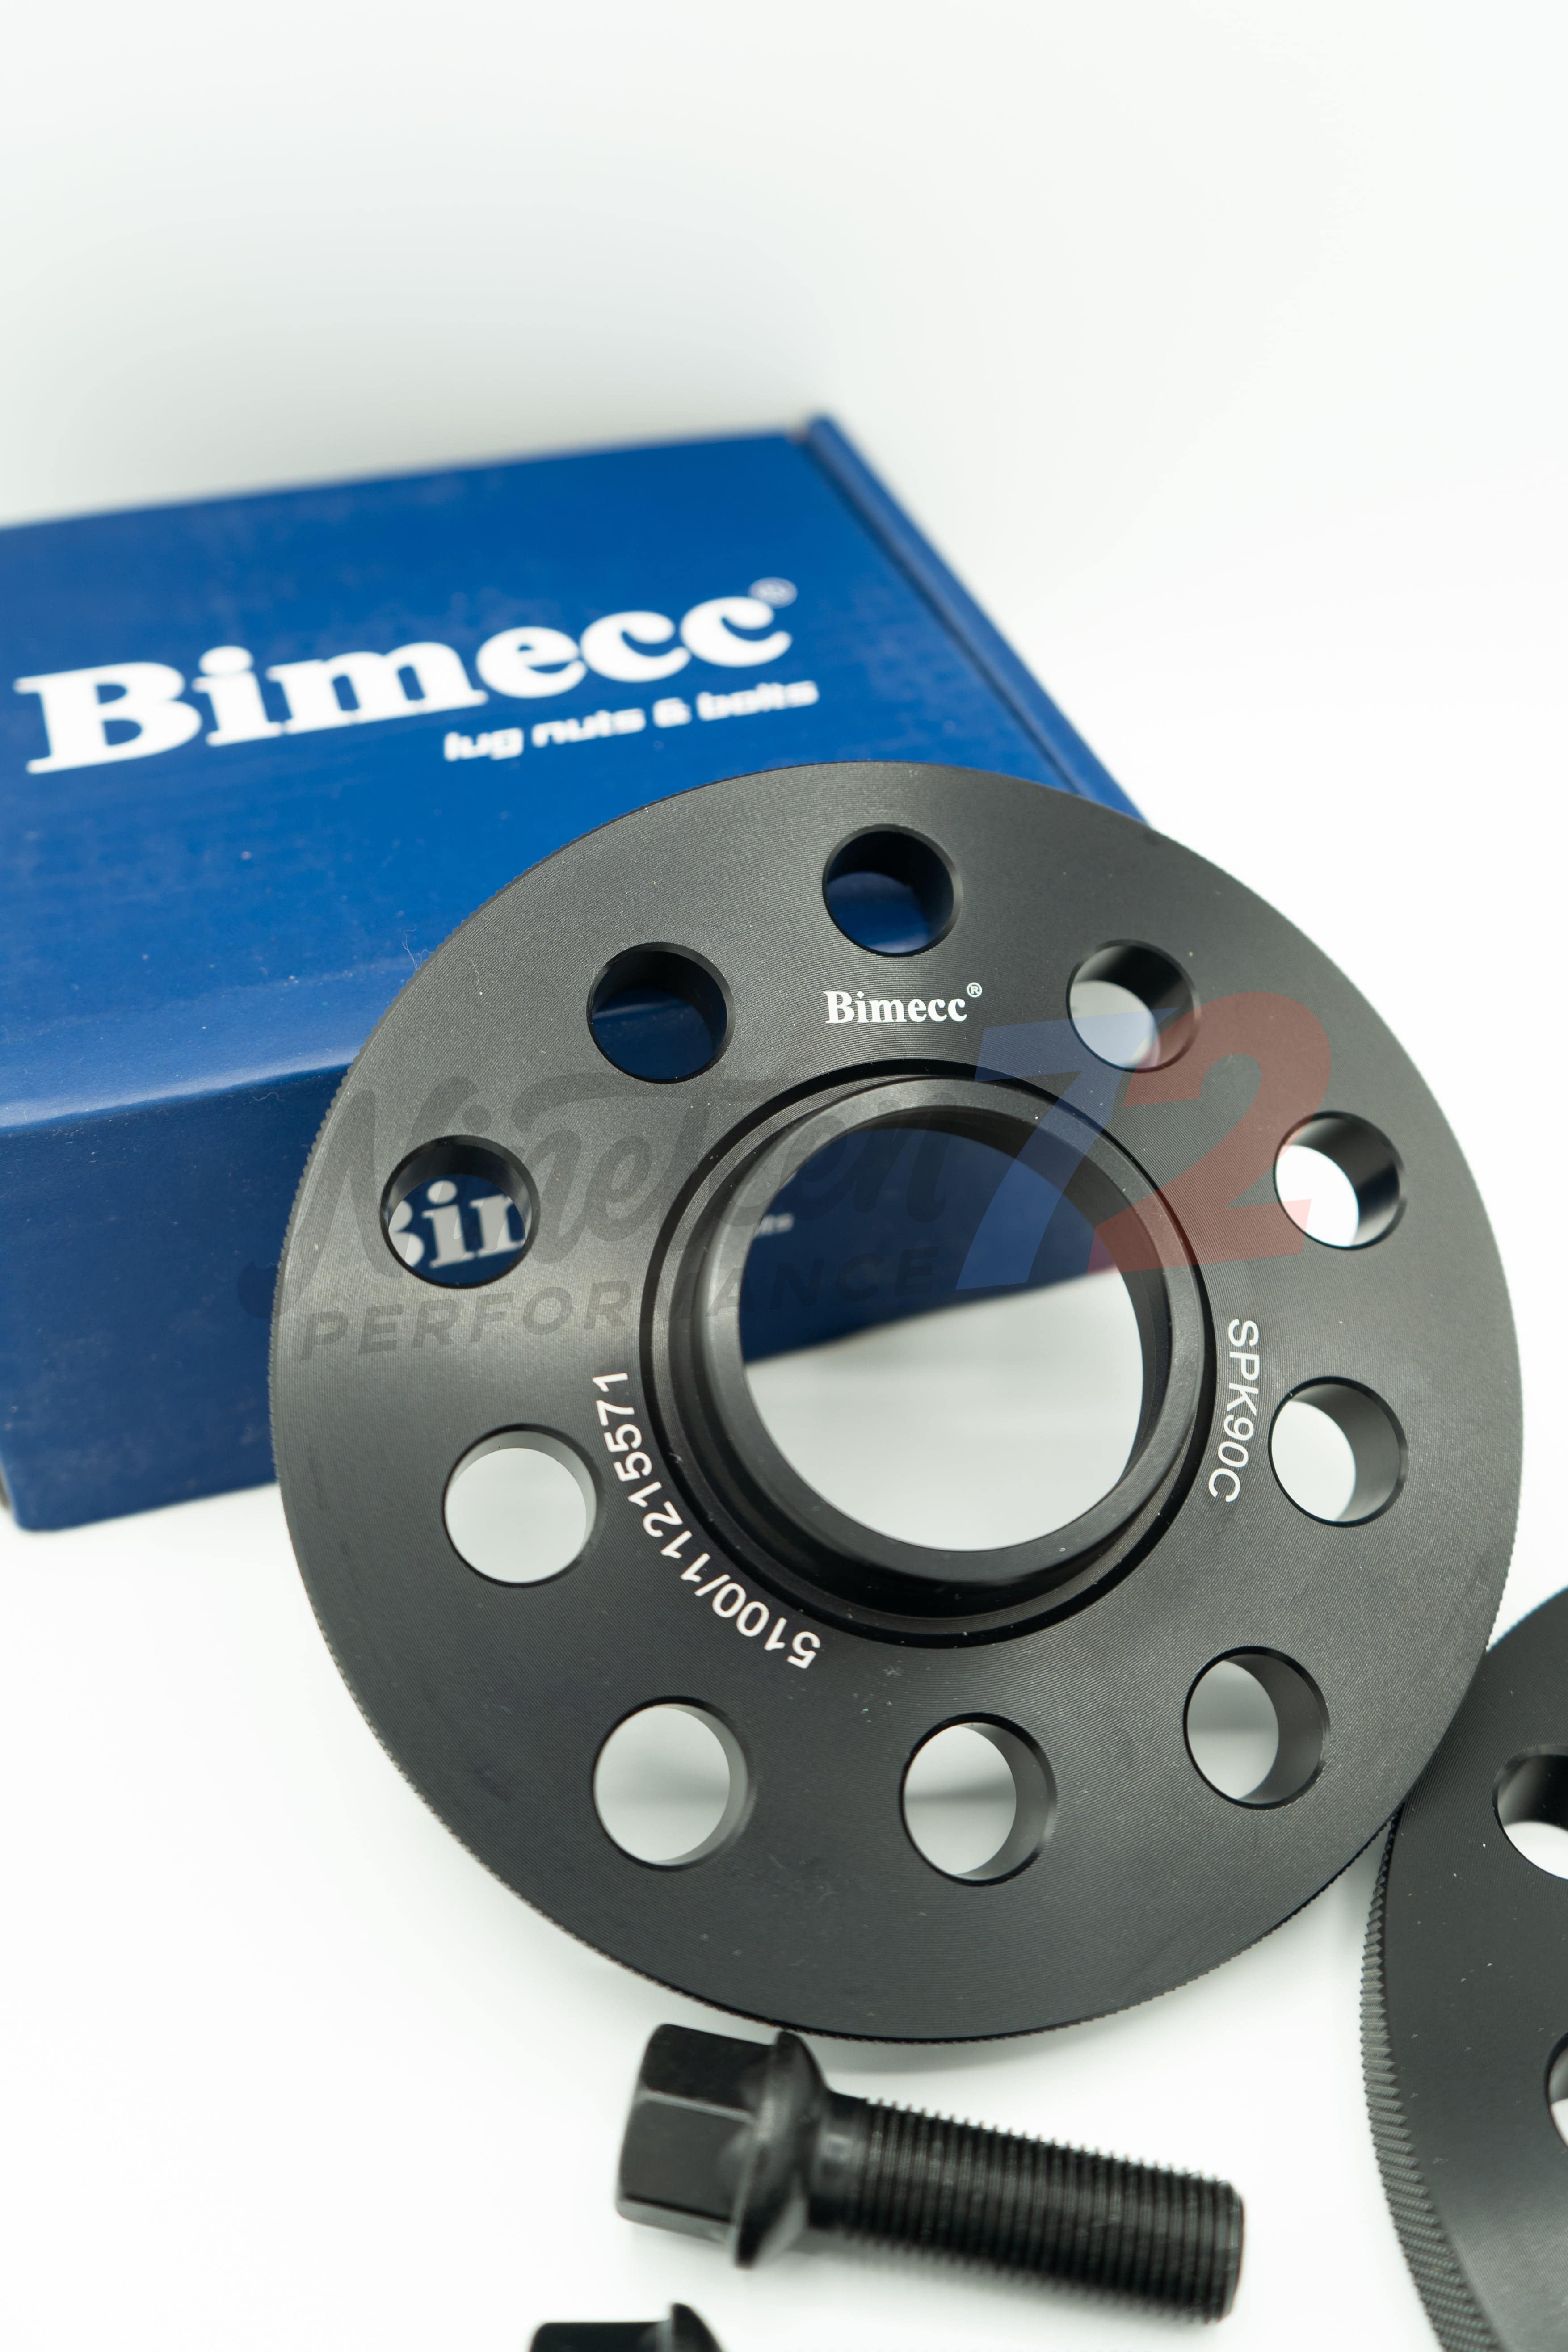
Installation Guidelines for our Bimecc Stud & Nut Conversion Kits
Professional installation is recommended to ensure the best results. You will need the following tools and consumables:
- Thread Chasing Tool (size dependent on your vehicle)
- Penetrating Oil (e.g., WD-40)
- Brake Cleaner
- Clean Cloths
- Wire Brush
- Thread Lock (e.g., Permatex 8179)
- Torque Wrench and Suitable Sockets
Installation Steps
-
Prepare the Hub and Threads: Check the hub face and threaded holes for rust or debris. Clean thoroughly using a wire brush and brake cleaner. Use a thread chasing tool with penetrating oil to clear out the threads. Ensure no contaminants remain before proceeding.
-
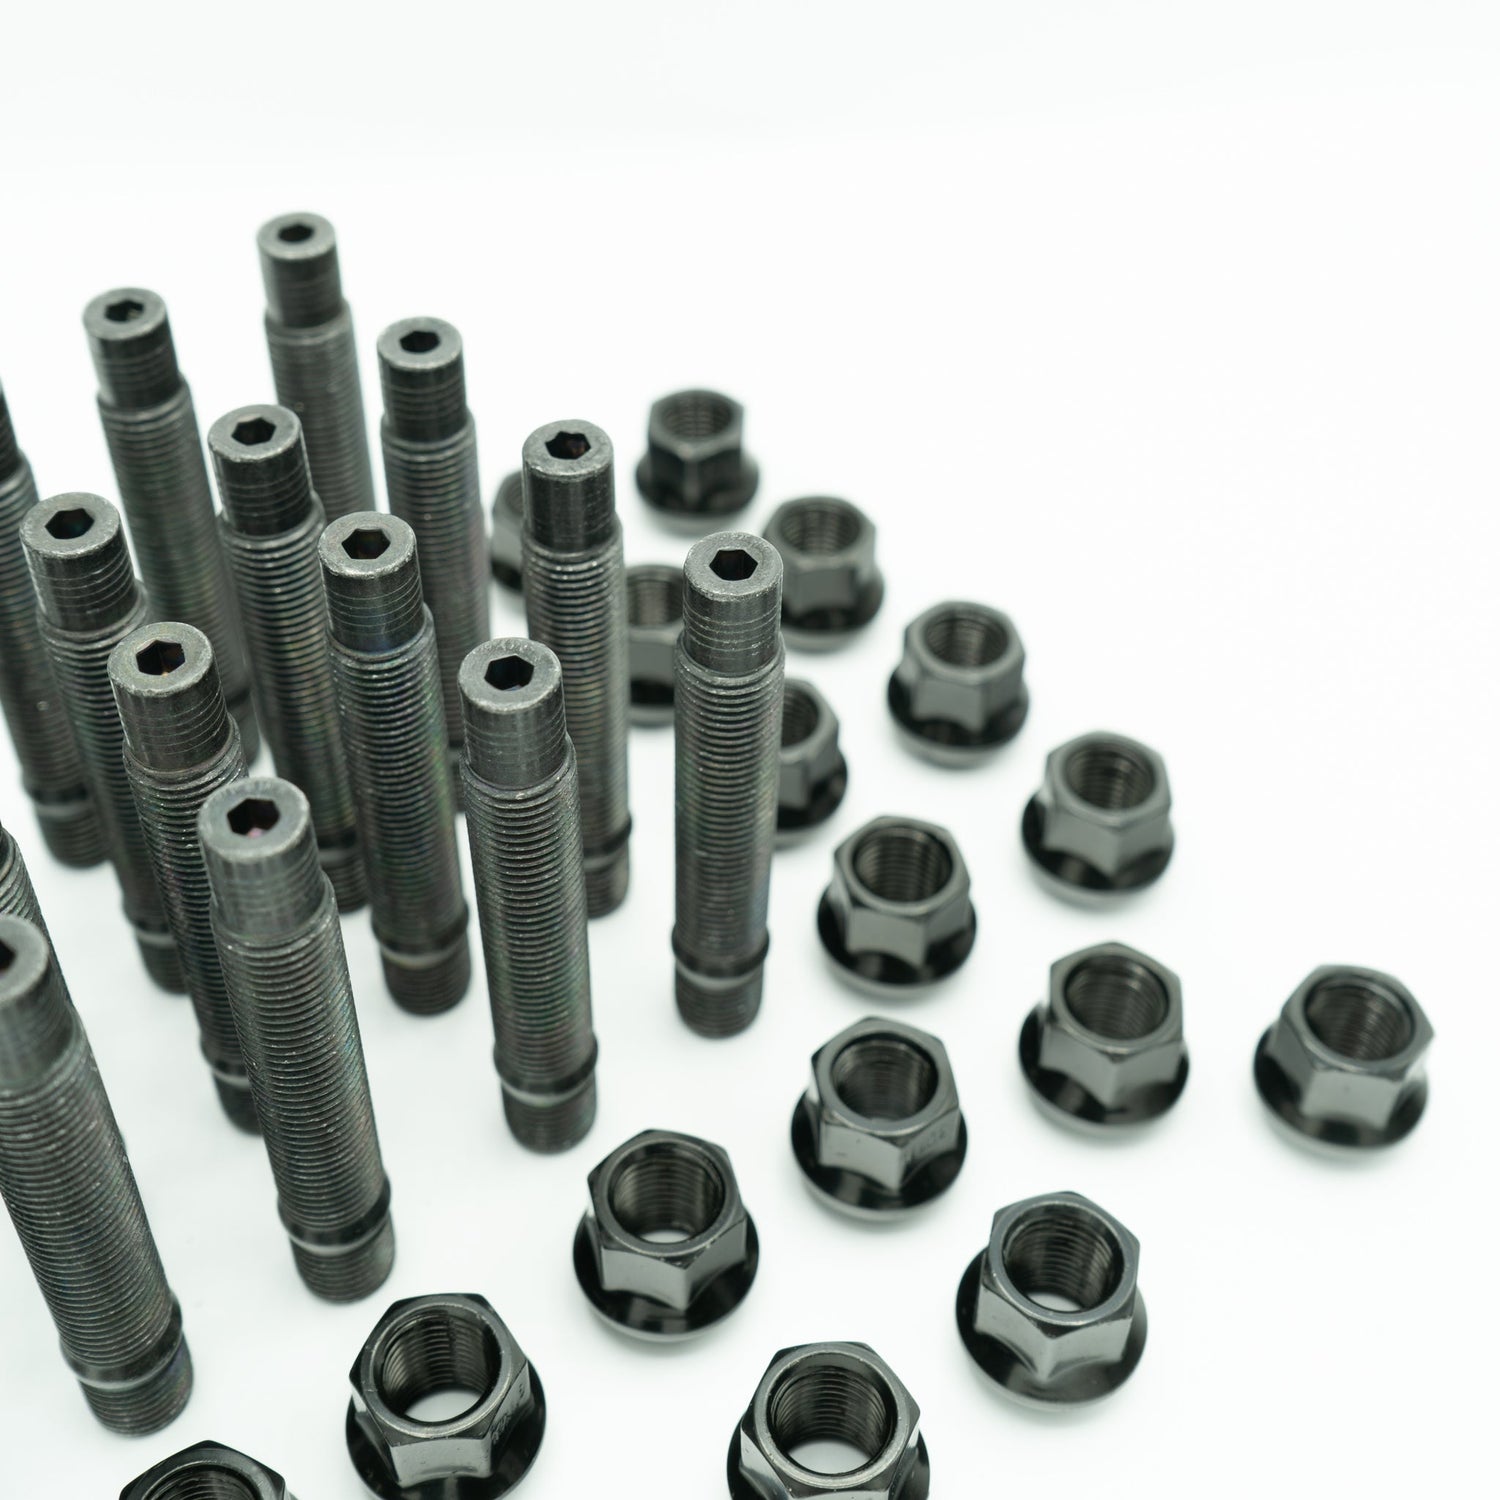
Install the Studs: Apply a small amount of thread lock to the tip and lower threaded portion of the stud. Hand tighten each stud into the hub, ensuring the stud does not bottom out prematurely. Once secure, use a double-nut method to torque the studs to 32Nm.
-
Curing Time: Allow the thread lock to set for one hour and fully cure over 24 hours before driving.
-
Final Installation: Mount the wheel without using any consumables, and tighten the nuts in a star pattern to 122Nm. After 100 miles or a track session, recheck the torque.
Maintenance Tip: Nineteen72 Performance recommends replacing the studs annually for optimal performance and safety.
This comprehensive guide from Nineteen72 Performance will help you make the right choice for secure, hassle-free wheel installations, especially when upgrading with spacers or aftermarket wheels.


Leave a comment
This site is protected by hCaptcha and the hCaptcha Privacy Policy and Terms of Service apply.